


How to replace and tension an electric skateboard drive belt
How to replace and tension an electric skateboard drive belt
Most riders assume a belt problem means a trip to a shop or a call to support. In reality, a belt tension issue is one of the more approachable things to check on an electric skateboard, provided you understand what the belt is actually doing and you are willing to work through the steps in order.
What the belt is actually doing under your board
On every Evolve belt-driven board, the front truck carries two free-rolling wheels with no motor involved at all. The work happens at the rear truck, where each wheel has its own motor and its own belt. Power runs from the motor, through a small motor pulley, along a toothed belt, into a larger drive gear on the axle, and finally into the wheel hub itself. The drive gear has raised lugs on its wheel-facing side, and those lugs engage matching spaces inside the wheel hub. That engagement is what actually spins the wheel.
It is worth being clear about one thing riders often get backwards: the drive gear and the wheel hub are not the same part. The gear sits on the axle and receives the belt. The hub slides over the gear and locks in through those lugs. Understanding that distinction matters once you start pulling things apart, because it tells you what should move independently of what.
Signs the tension is off before you touch a single bolt
A belt that is too tight adds friction through the whole drive system. It can reduce range and may put unnecessary load through the motor and gear. A belt that is too loose shows up differently. Riders sometimes notice a clicking or skipping sound during hard braking, and that is a sign the belt may be skipping across the teeth of the drive gear rather than gripping cleanly.
Both symptoms point to the same fix: adjusting the position of the motor to reset tension.
Get the right tools before you start
You need two things: a 1/8-inch Allen key and a Y-tool with a medium-sized socket for the wheel nuts. The belt cover comes off with two Allen bolts. Each motor sits on a plate held by four bolts, and those bolts sit in slots that let the motor slide forward and back once loosened. That sliding motion is the entire mechanism behind belt tensioning, so there is no need for anything more exotic than these two tools.
If a motor screw resists and the Allen key starts slipping in the head, stop. Continuing further risks damaging the screw head, and if it will not budge, it is worth contacting Evolve support rather than forcing it.
Pulling the old belt off
Start by removing the rear wheel. Fit the Y-tool's medium socket over the wheel nut, turn it counterclockwise, and slide the wheel off the axle, holding the drive gear steady as you do. Next, undo the two belt cover bolts with the Allen key and lift the cover away. From there, rotate the drive gear while pulling gently and the gear and old belt will come off together.
With the wheel, cover, gear and belt out of the way, you can now see the four motor-mounting bolts. Loosen each one about half a turn to a full turn using the Allen key. You are not removing these bolts, only freeing the motor enough that it can slide in its mounting slots. This is the point where people sometimes assume the motor needs to come off entirely. It does not. The motor stays in place and simply shifts position within the slot to take up or release belt slack.
Fitting the new belt and getting tension right
Place the drive gear back on the axle without the belt first, and wiggle it gently until the bearing inside seats flush. Then loop the new belt around the gear, pinch the top of the belt into a small loop, and hook that loop over the motor pulley. From here, tension comes down to one number: roughly 5 mm of play when you press on the belt, with the wheel still able to spin freely by hand.
Getting an accurate reading is easier with the wheel temporarily fitted, since it pulls the drive gear straight and stops the tension from reading falsely loose or tight. Tighten the two accessible motor screws just enough to hold that position, check the play again, and nudge the motor slightly if you need more or less slack. Once you are satisfied, pull the wheel back off so you can access the remaining motor screws and tighten all four, starting with the inner one. Evolve has not published a specific tightening figure for these screws. If you are unsure how tight is enough, check with Evolve support rather than guessing.
Putting it back together
Before the wheel goes back on, check that a bearing is sitting on each side of it. It is easy to knock the inner bearing loose during this process, so confirm it is in place before you refit the wheel. Refit the belt cover, slide the wheel back onto the axle, and thread the nut back on. Tighten until it bites, then back it off about an eighth of a turn. You should still see axle thread showing past the nylon locking section of the nut.
Spin the wheel by hand. It should turn freely with no drag. After that, take the board out for a cautious, low-speed ride rather than pushing straight into normal riding, and pay attention to whether any clicking or skipping shows up under braking. That combination, roughly 5 mm of play, a freely spinning wheel, and no skipping on a careful test ride, is what you are aiming for.
Where a board like the Diablo Bamboo AT fits into all this
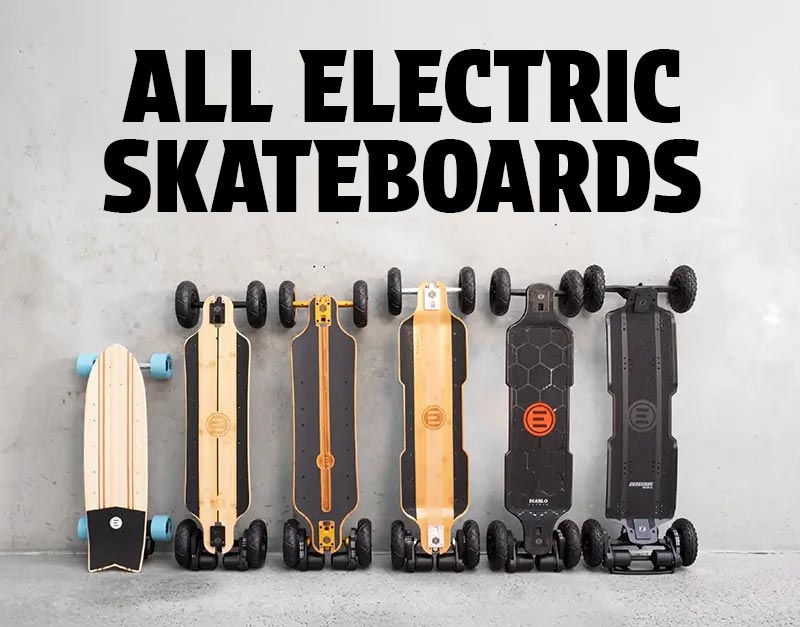
This same drivetrain layout, front wheels free-rolling and rear wheels driven through a motor, pulley and belt, runs across Evolve's belt-driven lineup, including the GTR, Fusion and Diablo series. If you are riding the Diablo Bamboo AT, you are working with the same externally serviceable belt system described above.
Belt tension is not a mystery once you have worked through it properly. Getting it right is the difference between a wheel that spins freely and one that either wastes range through unnecessary friction or skips under braking. Learn the checks, roughly 5 mm of play, a freely spinning wheel by hand, and clean braking on a cautious test ride, and you will have a clear read on the belt.
-
Posted in
electric skateboard, evolve
